Here in the Midwest, the winters can be long and not so pretty. While, I’m confident that there are other areas that have it much worse, it’s still not a lot of sunshine in Southern Illinois from November-April. It’s easy to let poor weather circumstances take the best of you as you prepare for a session. Maybe you’ve started a session thinking “there’s no sun- so these photos won’t be that great.” As professionals, we have to be prepared for all situations and always ready to create great work!
Unfortunately, we’re not always dealt the best scenarios, so how do we handle them? Here are my 5 tips to make the best of gray skies and still create gorgeous images.
-
Photograph in Open Spaces
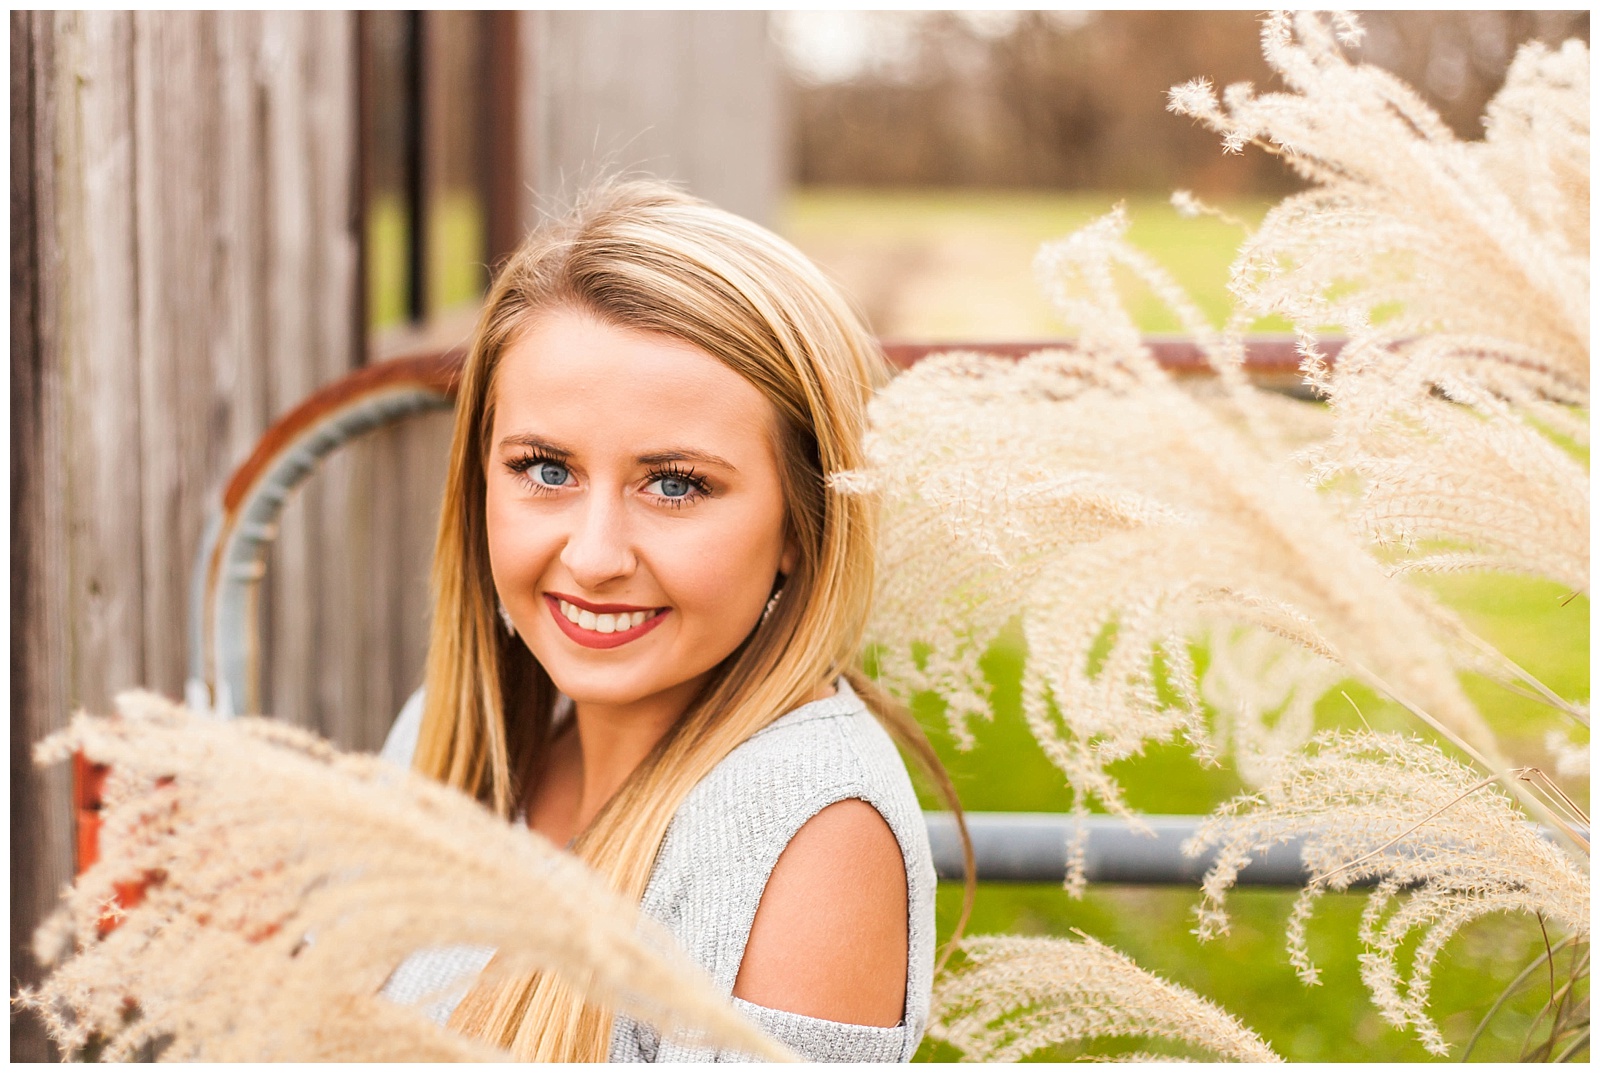
This is one of my top tips for overcast days. The only thing worse than an already dark day is sticking your senior, couple, or family in a dark setting and trying to get great images. Since I know the winter months are more likely to be overcast, I pick locations that are open. If I want a wooded look, I choose an area that shows trees, but I photograph in an opening rather than in the woods. For me, I’ve found that on most overcast days, I’m wanting more light (especially by the end of the session), so I choose areas that are more shaded for the beginning, and I move to extremely open areas by the end of the session.
-
Encourage Clients to Wear Brighter Colors
I’m always a fan of bright colors, but I understand that’s not everyone’s cup of tea. First, I would suggest having your clients wear something that would pop against the background. Obviously in the winter, that could be anything bright: red, pink, yellow, blue, kelly green! However, some clients aren’t interested in wearing bright colors – because of that, I just suggest for clients to stay away from lots of browns/tan as it tends to make them blend in and make the image look “bleh.”
-
Use a Reflector
Some love them – some think they don’t do anything. I’ve found using a reflector is the best way to reflect light up in the faces of my clients. It takes a bit to get use to this, but once you do, it’ll come naturally! Understand that you do have to have light to bounce into your clients face – so if it’s too dark it won’t work. However, I do use this trick in majority of my sessions, and it’s part of how I now create my images.
-
Find Locations with Interesting Textures/Colors
If there’s not snow – just brown blehhh – it can seem pretty discouraging to create beautiful images. If your client is interested in an urban look, I highly suggest using industrial textures/street art to bring life into your images! This is an easy out! However, what if your client tells you they want all nature – no buildings, no brick walls, just nature. I suggest trying to look at things differently. I look for different textures – in plants, grasses, roadways, water, rocks, and I find a way to use these different textures to add a pop to my photos.
-
Go with the mood!
Dark and moody isn’t my go-to style (I’m pretty sure that’s no surprise here – everything is red and bright colors), but you can always use the moody, overcast look to your advantage. If you don’t want that to be your “signature look,” but want to try it out – plan a styled shoot with a dark and moody vibe! You’ll be able to create some fun, creative images!
I can’t wait to see what you create when the scenario is not-so-great! Here are a few of my favorite images from dark, cloudy days!


February 20, 2020
How to Make the Best of Gray Skies || Southern IL Photographer